How To Install Windows
Since moving into our house almost 3 months ago we’ve taken on a lot of home improvement projects. Neither my husband nor I are very handy when it comes to house repair. Needless to say a lot of the projects have been at a standstill for weeks now, awaiting the return of my very knowledgeable dad who has done most of the work that has gotten done. Luckily for us he’s coming over for Thanksgiving so this has inspired me to document how he helped us install windows.
When I say I’m going to tell you about how to install windows, note that I’m not talking about the operating system (ha ha). I’ll walk you through what we did while I mostly watched and took pictures.
The reason we decided to start our home improvement journey with windows is it seemed a small enough remodeling project (with help) that it would conceivably be finished in a short amount of time. For some more context, we plan on remodeling our entire kitchen, as well as converting our basement/bonus area into a master bedroom/bathroom. So those are really big projects that are too big to think about right now. They require architects, structural engineers, city permits and most importantly, money. Windows seemed harmless, and cheap, compared to that.
Our two bedrooms each had 1 crappy, aluminum, single-pane window that couldn’t reliably be opened. In the hot summer months this was hard to accept. (For whatever reason the other windows in those rooms are either sash windows, or more modern kinds that easily slide up and down). Once the windows were replaced, we figured we’d be free to paint the walls and “finish” decorating and furnishing the two bedrooms so we could then concentrate on bigger projects. In theory.
2 months later we still haven’t gotten the proper molding to nail around the borders of the windows because, mostly, I don’t know how to buy molding or how to attach it to plaster walls. Also we haven’t decided on a whole-house color scheme, which is also holding us back from making any long-term decisions. What with working all week and wanting time to relax on the weekend, I’m a little ashamed to say we’ve lost a little steam. But anyway! Let’s get on with the story…
Here's the first window we replaced. Looks fine right?
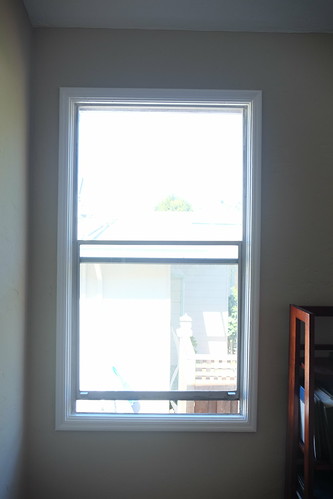
Well, take a closer look. Those little tabs on the bottom, in theory, allow you to raise the window by squeezing them in.
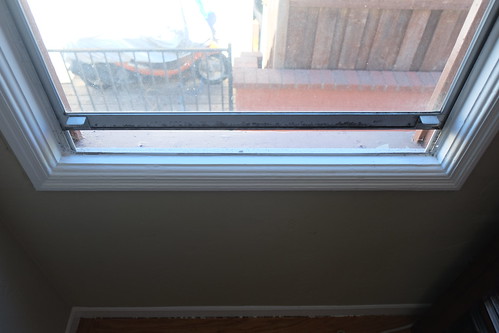
Then little nibs on the edges of the window lock into notches in the siding.
Except that the squeezy things didn’t reliably pull the nibs in so you could push the window up. So you’d squeeze and push and finally the window would jerk up an inch on the left side but not the right, so you’d bang on the underside of the right side of the window to get it level, only for the left side to fall back down. Let’s say eventually you get the window up, but now the nibs won’t stay in the notches, and the window just falls unexpectedly. It was kind of scary. You’d never know if your fingers would get chopped off. I realized that all the little wooden rods I saw in the rooms were to hold the windows up. Not a good sign. The window in the 2nd bedroom was the same way.
So! My dad and I measured the holes in the walls where the windows go and went to Home Depot to order some that were the right size. Our windows aren’t a standard size so we had to special order them from the manufacturer. After we decided which ones to get (double-hung so they could be opened from the top or bottom) based on the models they had displayed, we had to wait around a long time to speak to a window expert. Many of the younger employees at my local Home Depot seem to run away when they see people who need help, but the window guy was really knowledgeable and friendly. So we put in the order, and I was told to check back in a couple weeks.
Fast-forward a couple weeks and my parents came down again. We had my dad’s pickup truck and we went back down to Home Depot to pick up the new windows. Lots of time passed. I don’t know why, but my whole life has been marked by waiting around in Home Depots with my dad. Finally we got the windows home, carefully unloaded them, and then set about getting the old ones out.
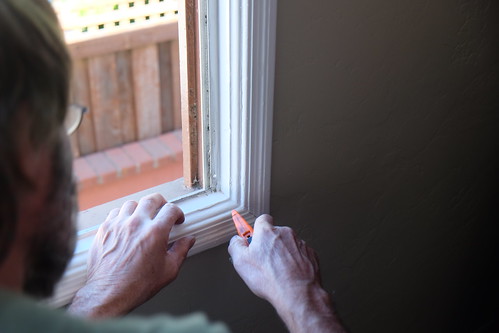
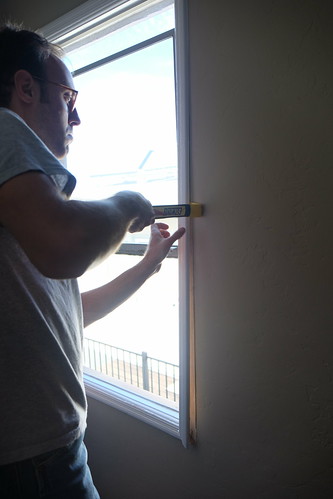
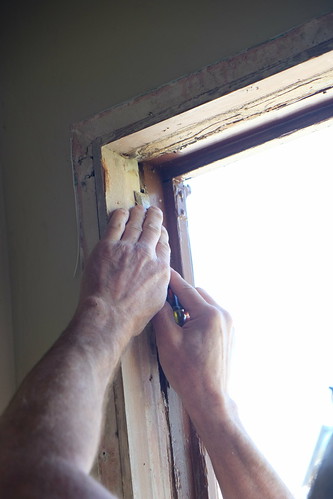
I was surprised to learn that an x-acto blade was a tool prominently featured in window installation. At least if you have windows covered up by molding, covered up by 50 years of layers of paint. The x-acto blade is used to cut through the paint to expose the seams where the molding is put together.
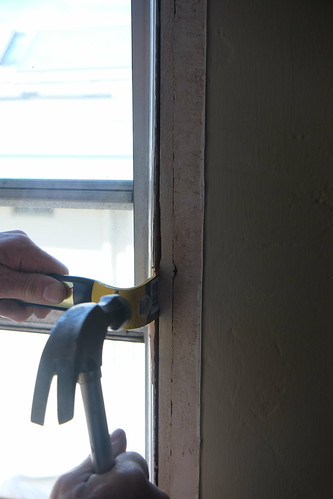
Then comes the crowbar and hammer.

Tap and pry the crowbar under the molding and gently pull it away, piece by piece.
If you want to re-use the molding (we probably won't because we need a bigger size) you'll have these pieces with nails sticking out.
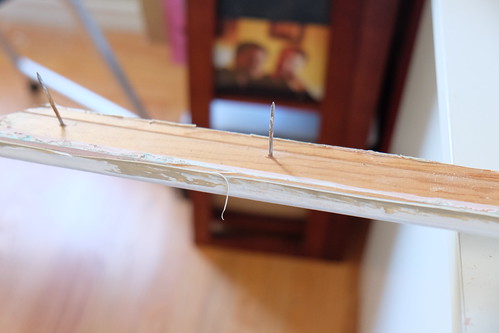
My job was to tap them out in reverse with a hammer and put labels on each piece to make sure we know where they came from.
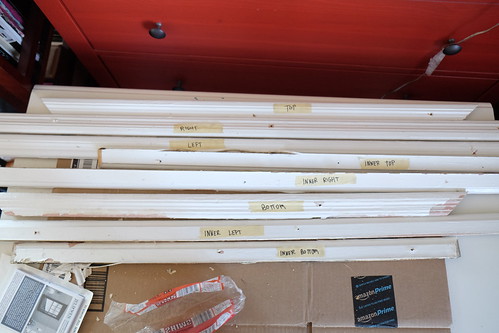
More tapping and prying. Not only are there pieces of molding for the 4 sides of the window, there are 4 pieces inside the frame.
Once all the molding was out, my dad spent some time making sure all the nails attaching the window to the frame were out, and finally was able to pull the window out. There were some casualties though. Part of the window shattered and fell, scattering glass both inside and outside the house. Nothing a broom and dustpan couldn’t fix.

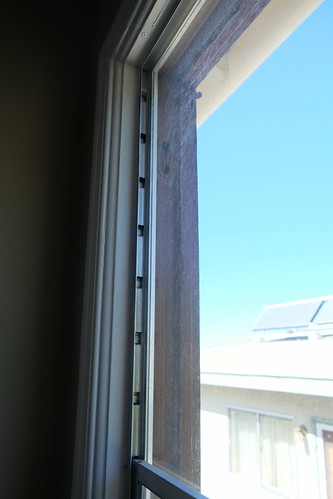
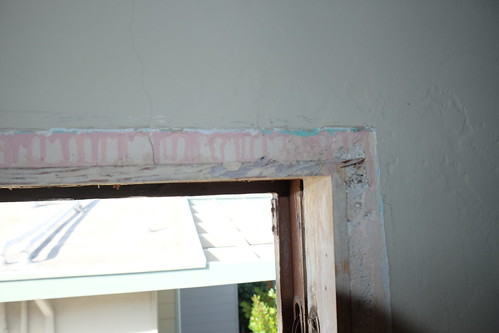
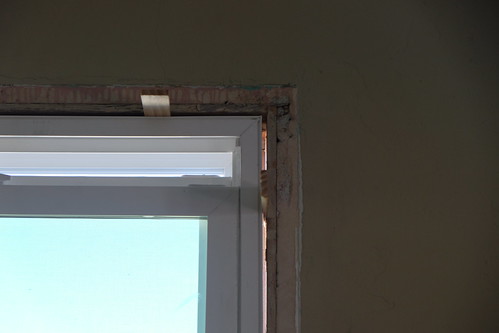
Finally the window was out, and we could see evidence that there used to be a sash window here (plus lots of different kinds of paint).
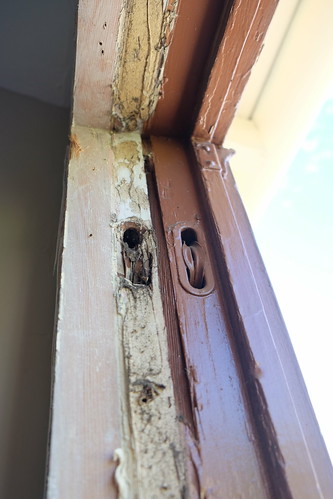
Turquoise and pink??
We didn’t bother trying to get the old sash pulley wheel things out, but we did have to scrape away all the old paint and make the surface as smooth as possible using a chisel.
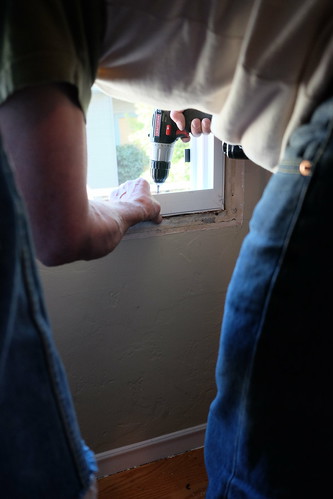
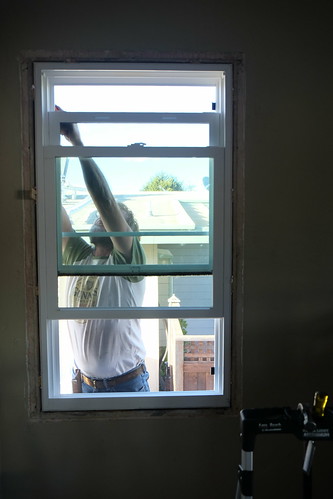
Then the new window was lifted in place.
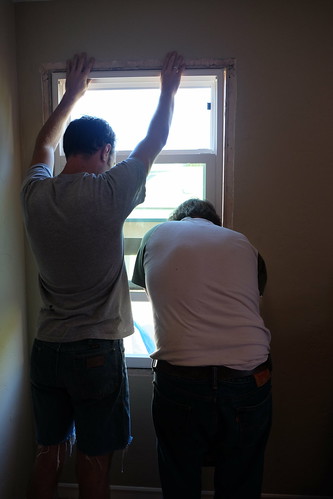
And screwed into the window frame.
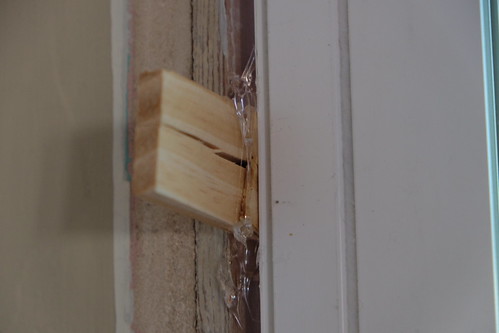
Due to the window not being the exact right size, we used some shims around the outside of the window.
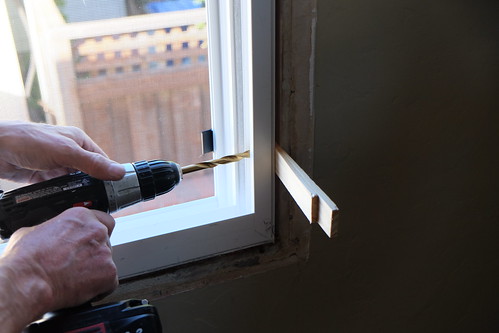
We used some kind of epoxy to hold them in place.
Here’s my dad on the outside making sure the window wasn’t going to fall out. Note that he is teetering on a ladder 20 feet in the air right then. Not advised!
So that’s how my dad installed the window with some minor help from my husband and I. My husband filled the gaps between the window and frame with some tubular foam stuff, and some insulation. Later we sawed off the edges of the shims so they didn’t stick out past the wall. The very last step, as I alluded to above, is to buy some molding that will slightly cover the edge of the window and cover up the 2 inches or so of raw plaster bordering the window.
Yep, we’ll get around to it some day.
Here’s the whole album of photos from the window installation, including the window in the 2nd bedroom!
My parting shot: the awesome thing about working on windows is that sometimes you get a nice view :)

Next time: adventures in discovering dry rot that your house inspector failed to mention!